How to Use Self Leveling Concrete Products: Steps, Dry Times, and Floor Fit
If you have a sloped garage floor, a wavy basement slab, or a walkway that has turned into a tripping hazard, you have probably come across self-leveling concrete products while searching for a fix. These pourable compounds can smooth an uneven floor, but they only work on the right surface, prepped the right way. This guide walks you through the process step by step, covers how long each product takes to dry, and explains which floors suit a pour versus which slabs need lifting from below. It is written for Des Moines homes, where freeze-thaw winters and expansive clay soils are usually the real reason concrete sinks in the first place. When it comes to fixing uneven surfaces, self leveling concrete steps represent one common application, though indoor floors are more typical than outdoor stairs.
One note before we start. Self-leveling compound fixes the surface of a slab. It does not fix the ground under it. If your concrete sank because the soil settled, pouring more material on top adds weight to a slab that is already dropping. We will flag that decision point where it matters.
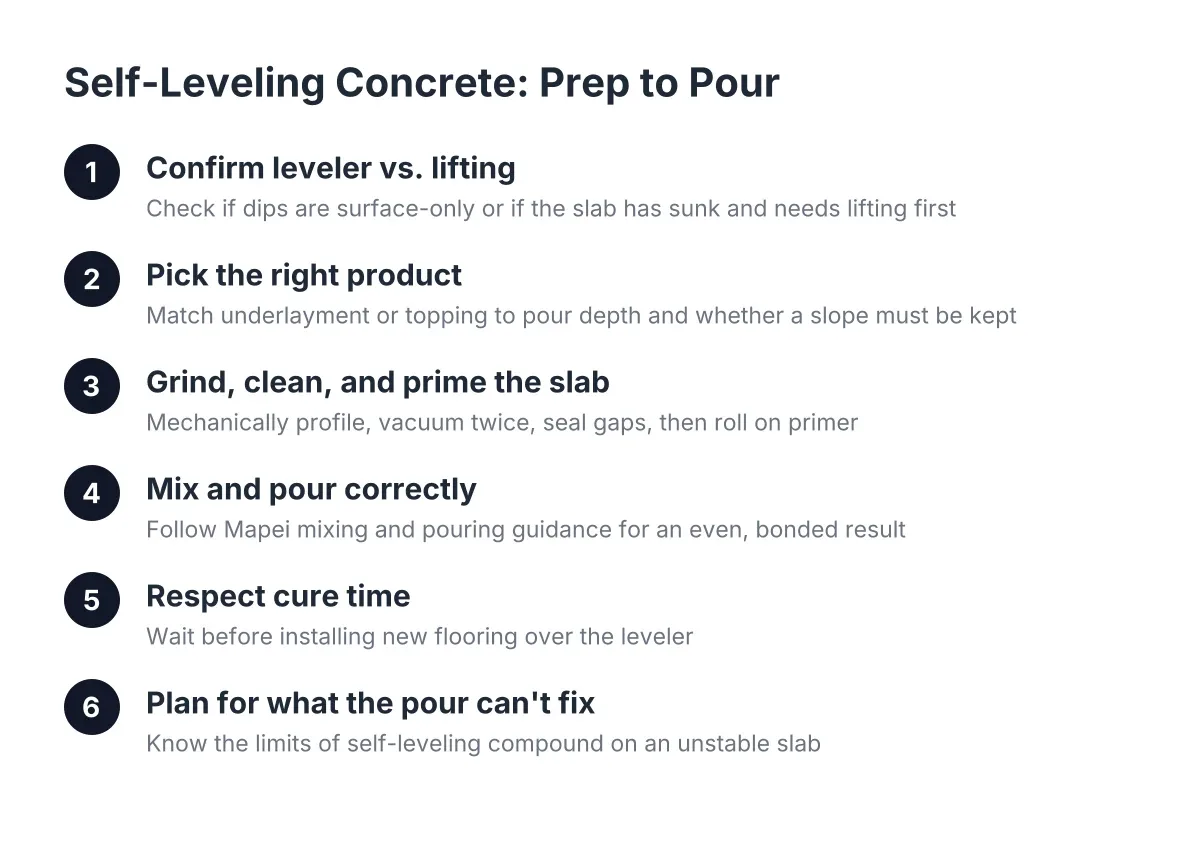
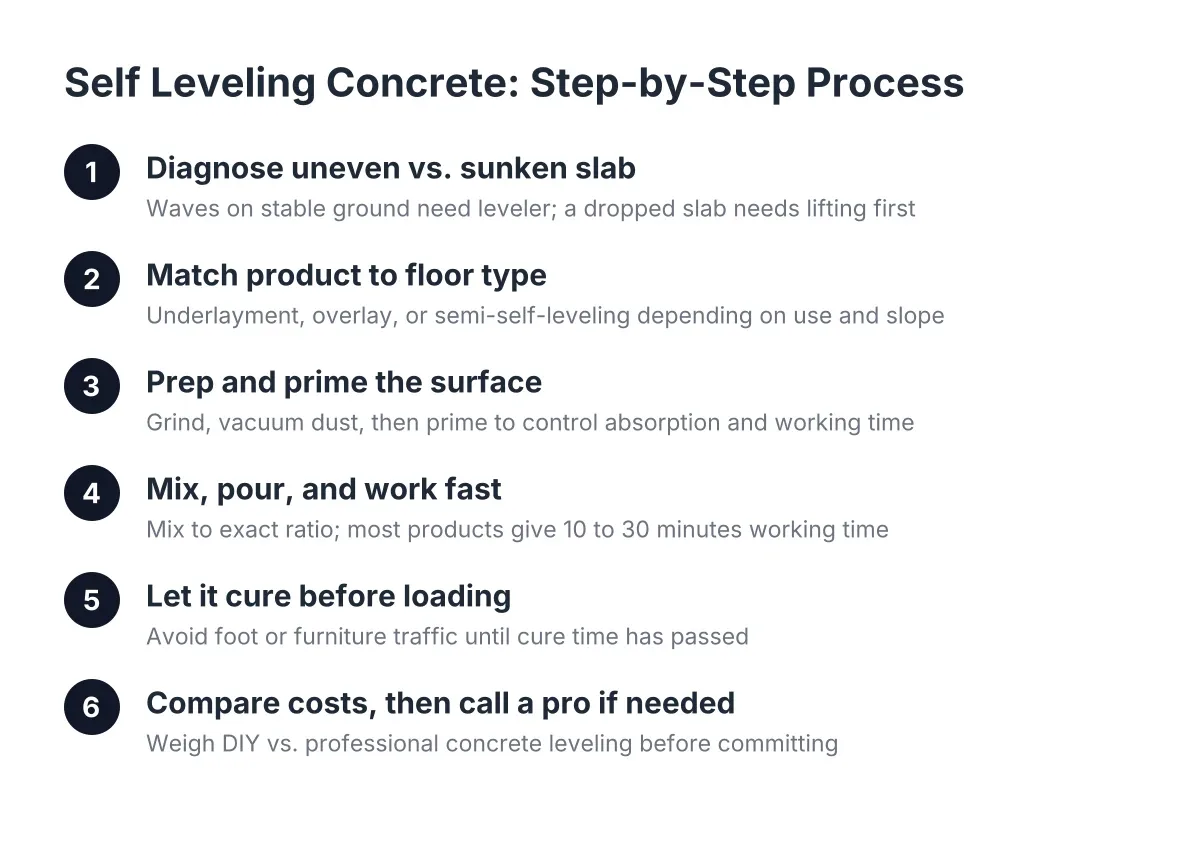
Step 1: Figure Out Whether the Slab Is Uneven or Sunken
Start by asking why the floor is not level. The answer decides everything that follows.
An uneven slab has waves, low spots, or a rough surface, but it sits on stable ground. This is common in older basements and garage floors. Self-leveling concrete products handle this well because the problem is cosmetic, not structural.
A sunken slab has dropped on one side or pulled away from a step or another slab. You will see a growing gap at a joint, a crack with one side higher than the other, or a step that gets taller every year. In central Iowa, the usual cause is our expansive clay soil. It swells when wet, shrinks when dry, and lets slabs settle after each freeze-thaw cycle.
Here is the decision rule in plain terms:
- Waves and low spots on stable concrete: self-leveling compound is a fair option.
- A slab that dropped or keeps dropping: you need concrete leveling from below, meaning mudjacking or polyurethane foam injection, not a surface pour.
- Both problems at once: lift the slab first, then resurface if the finish still bothers you.
Suppose a grandparent in Beaverdale has a front walkway where one panel sits an inch below its neighbor. Pouring leveler on the low panel would just feather out the edge and crack within a winter or two. In that scenario, the right fix is slab jacking: a crew drills small holes, pumps lifting material under the sunken concrete to raise it, then patches the holes to match the surface, according to Wikipedia. That is a few hours of work, not a construction project, and the walkway is safe to use the same day in most cases.
Step 2: Match the Product to the Floor Type
Not every pourable compound works everywhere. The main categories of self-leveling concrete products break down like this:
- Self-leveling underlayment. The most common type. It goes under a finished floor such as tile, vinyl, or wood. It is not meant to be walked on bare long term. Use it for interior floors you plan to cover.
- Self-leveling overlay or topping. A tougher version that can be the finished surface. Once cured, it can be stained and sealed on its own or used as a base for tile or other flooring. Good for basements and garage floors you want to leave exposed.
- Semi-self-leveling products. These relax and flow but hold some body, which gives forgiveness on slight slopes. A fully self-leveling mix on a sloped garage floor will pool toward the drain or the low wall. On any surface with intentional slope, choose a semi-self-leveling product and plan to tool it smooth.
Exterior walkways, driveways, and steps are a different story. Most self-leveling compounds are interior products. Outside, Des Moines freeze-thaw cycles punish thin surface layers; water gets under the edge, freezes, and pops the overlay loose. For outdoor sunken concrete, lifting the slab or doing a proper concrete resurfacing job holds up far better than a thin pour.
Step 3: Prep and Prime Before You Pour
Prep is where most DIY pours fail, so do not rush it. Manufacturer instructions typically require the concrete surface to be mechanically profiled before the leveler goes down, according to Lowe's Self-Leveler Plus installation guide. In practice, that means lightly grinding the slab to scarify it, then vacuuming all the dust, often twice.
Next, prime the floor. Dry, porous concrete pulls moisture out of the compound before it can flow and set. Primer stabilizes dust, slows absorption, and buys you working time. It also reduces the air bubbles that rise from the concrete into the leveler, according to Ardex. You can apply primer with a roller, a brush, or a spray gun. Watch transition points too; where fresh compound touches bare, unprimed concrete, it dries fast and leaves a rough edge.
Safety matters here as well. Wear a respirator mask when mixing, because the dry powder is hazardous to breathe, according to Sakrete. Seal off doorways, protect drains, and keep grandkids and pets out of the work area until the floor is walkable.
Step 4: Mix, Pour, and Respect the Working Time
Mix the compound to the exact water ratio on the bag. Too much water weakens it; too little keeps it from flowing. Mix thoroughly, because self-leveling concrete cannot be fixed after the pour the way regular concrete can. Dry clumps block its ability to find level, and you cannot spread them out once the material is down.
Pour in sections, starting at the far side of the room and working toward your exit. Use a gauge rake or spreader to move material into corners, then let gravity do the leveling. Most products give you 10 to 30 minutes of working time, so have a helper mixing the next batch while you pour. On a large floor, this pace is the hardest part for one person, and it is the most common reason homeowners call a pro halfway through.
Step 5: Let It Cure Before You Load It
Drying time varies by product, thickness, and your basement's temperature and humidity. As a general guide, many levelers accept foot traffic in 4 to 24 hours, but full cure before installing flooring or placing heavy loads can take several days. Check the bag; rapid-set formulas exist, and they cost more for the speed.
This is where the pour-versus-lift comparison gets interesting for anyone on a deadline. Polyurethane foam concrete lifting cures in minutes to hours, so a lifted driveway can usually take a car the same day. Mudjacking cures slower, often a day or more before heavy loads. If a realtor flagged your uneven patio three weeks before listing, those timelines matter more than the material cost.
Step 6: Compare Costs Before You Commit
Bag material for a DIY pour looks cheap until you price the grinder rental, primer, and the number of bags a real floor takes. A single low spot might need two or three bags; a full basement floor can run into dozens, and a botched pour cannot be scraped up easily. When planning the budget for self leveling concrete steps or similar applications, remember that material is only one piece of the total cost.
For lifting sunken slabs, the national average concrete leveling cost is $1,174, with a typical range of $630 to $1,723, according to Angi and HomeAdvisor data. Mudjacking runs $3 to $6 per square foot and costs 25% to 50% less than replacing the slab entirely, according to HomeAdvisor. Small jobs may carry a minimum charge of around $500 even under 100 square feet, according to Angi. If you are prepping a home for sale, concrete leveling projects can recoup 70% to 90% of their cost in added home value, according to Angi. That math is why listing agents flag sunken walkways before photos get taken.
Skip DIY concrete lifting foam kits for anything that matters. Lifting a slab evenly takes injection equipment and judgment about where and how much to pump; an over-lifted corner cracks the slab you were trying to save.
Step 7: Know When to Call a Concrete Leveling Pro
Call a professional when any of these apply:
- The slab has sunk, tilted, or keeps moving season to season.
- The uneven concrete is outside: a driveway, sidewalk, patio, or steps.
- Someone has tripped, or you are worried a visitor will. A raised sidewalk edge or sunken porch step is a fall risk worth fixing now, not next spring.
- You are listing the home within a few months and an inspection or agent flagged the concrete.
- The area is large enough that one person cannot mix and pour fast enough.
A surface pour inside, on stable concrete, in a small area, is reasonable DIY territory if you prep and prime correctly. Everything else is faster, safer, and often cheaper in the long run as a pro job. One honest limitation: if the soil under a slab has washed out badly or drainage is the root problem, leveling alone will not hold, and a good contractor should tell you that upfront rather than pump material into a failing base.
When you compare providers around Des Moines, ask three questions. First, do they offer both mudjacking and polyurethane foam, and can they explain which fits your slab and why? A company that only sells one method tends to recommend that method. Second, how will they handle our clay soil and freeze-thaw movement, and what do they do about open joints and crack filling so water stays out? Third, what does the quote include? A fair quote names the slabs being lifted, includes patching the injection holes, and lists crack repair or caulking as a line item rather than a surprise.
The Bottom Line for Des Moines Slabs
Self leveling concrete products are a solid fix for wavy interior floors on stable slabs, as long as you grind, vacuum, prime, and respect the short working time. They are the wrong tool for sunken exterior concrete, which needs lifting from below to fix the actual problem in the soil. Whether you are addressing self leveling concrete steps or indoor patio surfaces, always prioritize the condition of the base substrate.
If your walkway, steps, driveway, or patio has settled, and especially if someone in your family has already stumbled on it, have a local concrete leveling specialist look at it. Des Moines Concrete Leveling Pros lifts and levels sunken slabs across the Des Moines metro with both mudjacking and polyurethane foam, and will tell you plainly which method fits your slab, your timeline, and your budget. Reach out for an estimate and get the tripping hazard handled before the next hard freeze makes it worse.
If you need concrete leveling, Des Moines Concrete Leveling Pros can help.
Prefer to talk it through? Call +15155828701 — a quick call is usually the fastest way to get a straight answer for your situation.